
We have something very cool going on here at Glade Road Growing that you probably don’t even know about.
Since August, about once a month, a group of high schoolers from Eastern Montgomery High School in Elliston have been coming out here for a field trip. Not just any field trip, though.
An immersive series of field trips.
Part classroom, part fieldwork, part farm tastings.
And then some.

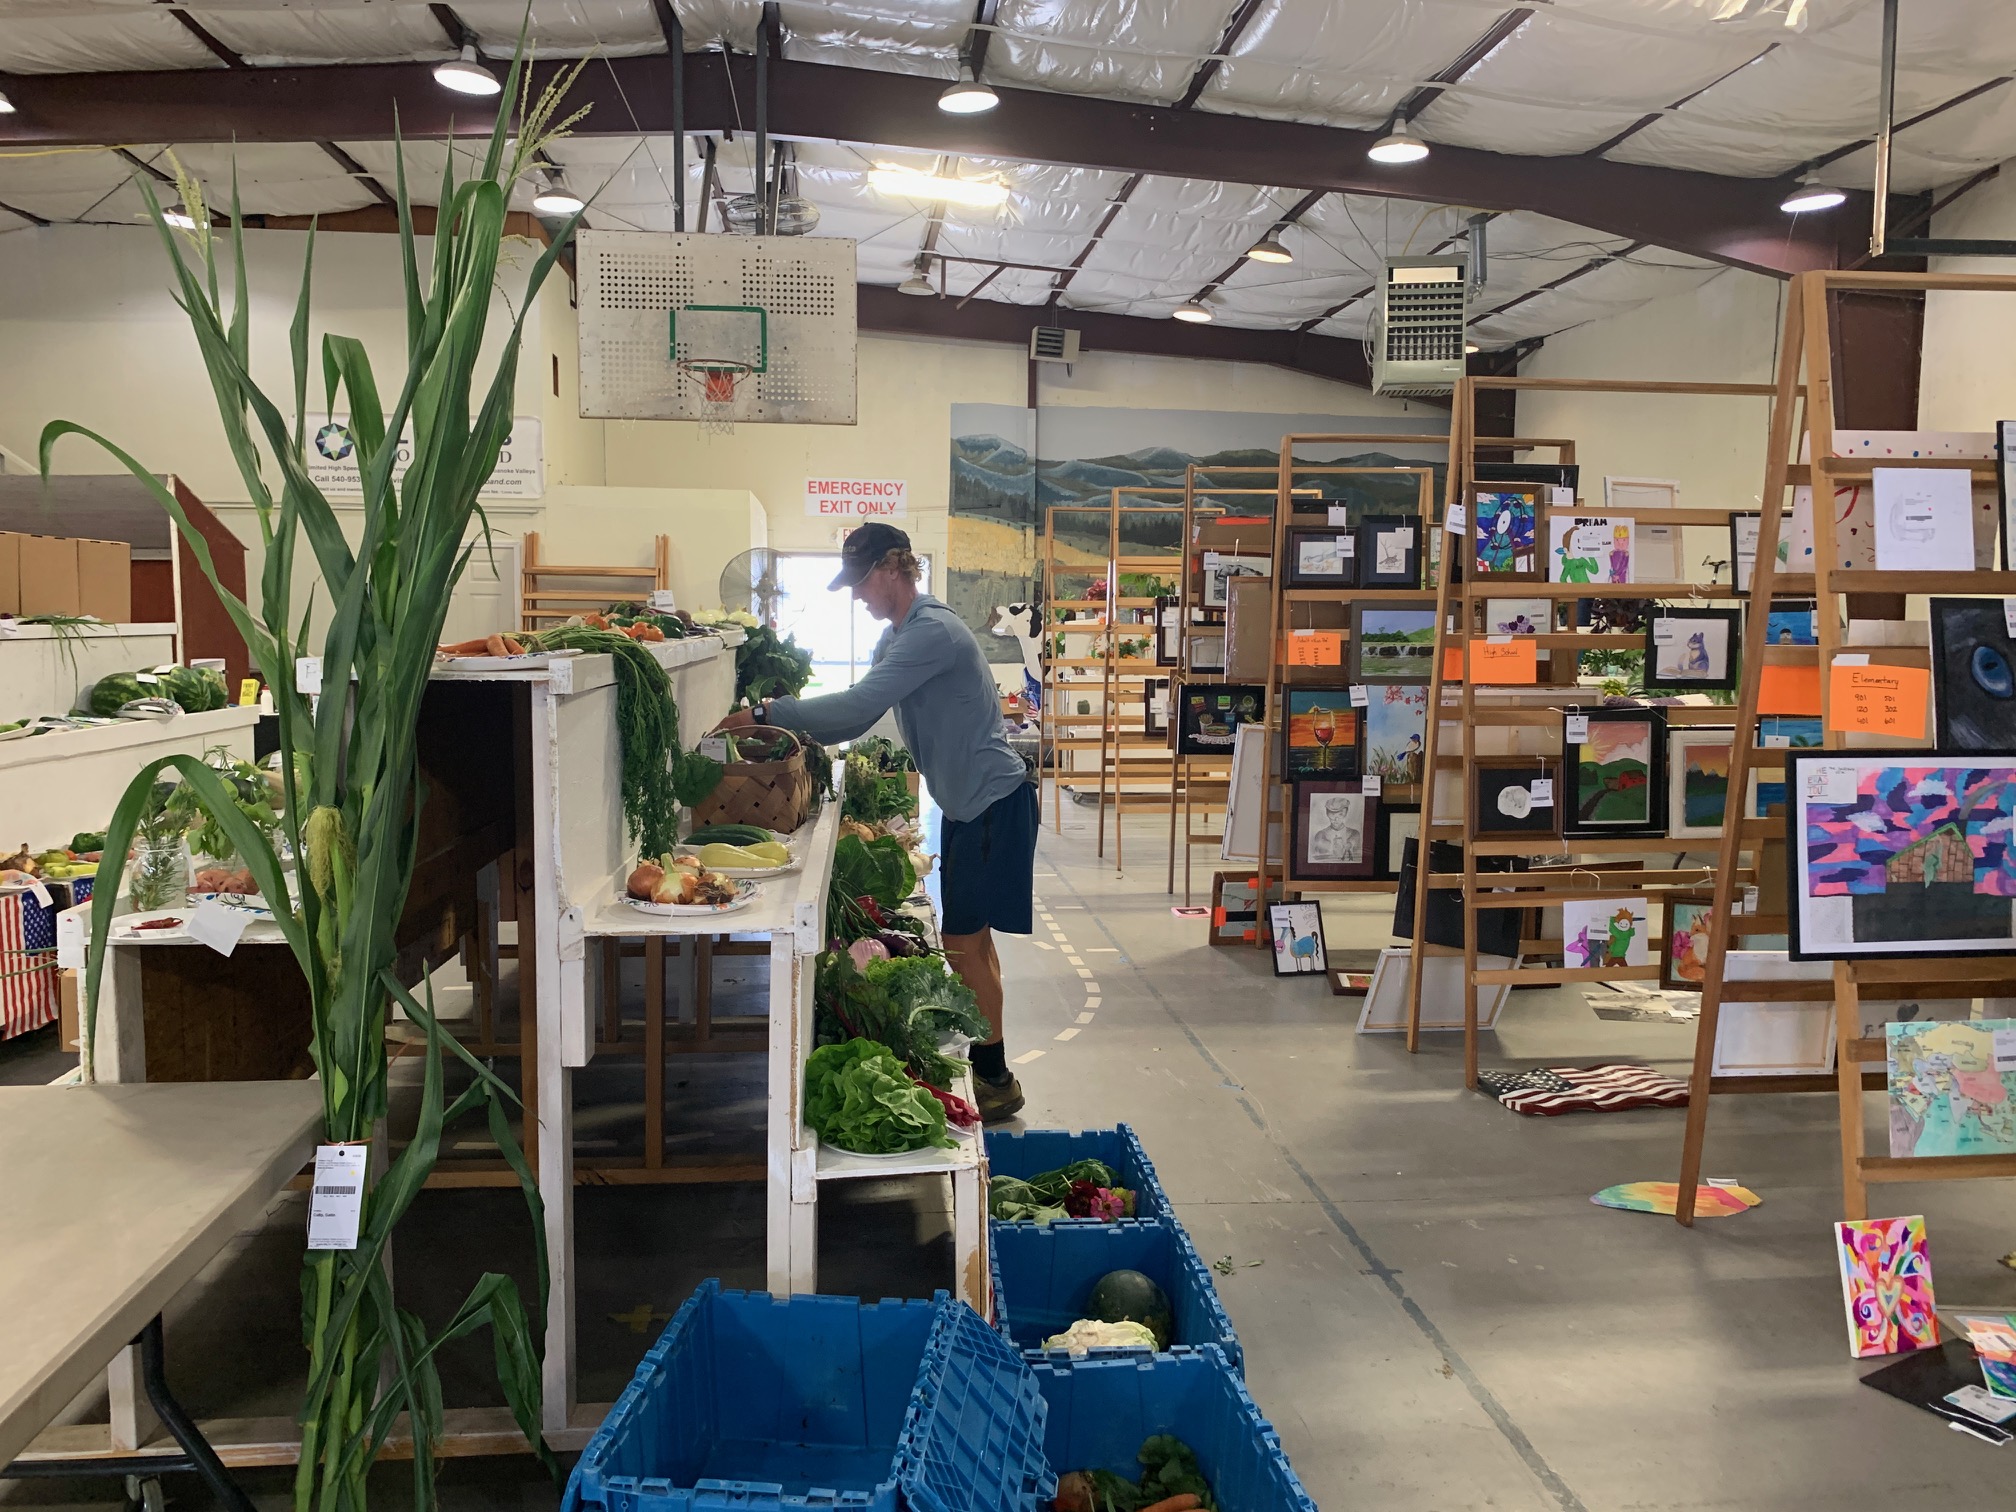
But first, meet Garrett.
“If we want to have a healthier population, it starts with teaching young people not only how to grow their own food, but to have more respect for what it takes to grow food…”
-Garrett, during our interview Friday
Garrett started working with us about 3 years ago. He’s grown into being the lead on our vegetable side and has an interest in agriculture education. So much so that he got certified to teach and was offered a job as a high school horticulture teacher in 2024. I was pleasantly surprised, maybe even a bit in disbelief, when he told us he’d turned it down.
Turns out he saw potential in the kind of ag education he wanted to do, the really-hands-on kind, here. Even though we work together, I wanted to interview him to get more of his insight into what he’s started here and where he sees it going. The quotes here are Garrett’s words from that interview.
“When I look around our community and all around the country, I see one of the greatest needs is giving hands-on experiential learning to young people. To grow their own food and raise their own animals, and to start forming a real relationship with soil, plants, and animals.”

So, Garrett got started. He designed an immersive field trip experience for high schoolers. He built it to follow the seasonality of what was going on here at Glade Road, through the months of the farm calendar.
Crop planning, seed starting, pepper harvest, chicken processing.
He wrote lesson plans and tied them to Virginia SOL’s. He reached out to the agriculture teachers at Eastern Montgomery High to invite them to try his pilot program. And I went out and asked people I knew for funding to make it happen free for the students, which we thankfully received.
Now we’re in March and the students have come out, on a school bus during the school day, about seven times so far since late summer.
During each visit, they experience a few hours of life here on our working farm (and business). Garrett has it all set up when they arrive. He has tables and chairs in our outdoor classroom if the weather is agreeable, or in the greenhouse when it’s not. He presents the theme of the day, gives the students a brief ecological explanation, asks some questions to get their minds turning, and then they all head out to the field. We close with a farm-based snack and some journaling.
“For me, working with high school students is always fascinating and enjoyable because I can ask them questions, and I can give them space to sit with the why behind all these things. So I never just want to tell them ‘Hey, you should eat healthy’ or ‘Hey, we’re just going to do XYZ task’… I always want to frame it so they’re thinking about why we’re doing the things, that specific farm task in the way we’re doing it, and how can we make it an enjoyable thing.”

Garrett’s thought process revolves around real-world activities, what we would be doing here on the farm that day, but centered on asking the students, “Why do you think we would do it like this?”
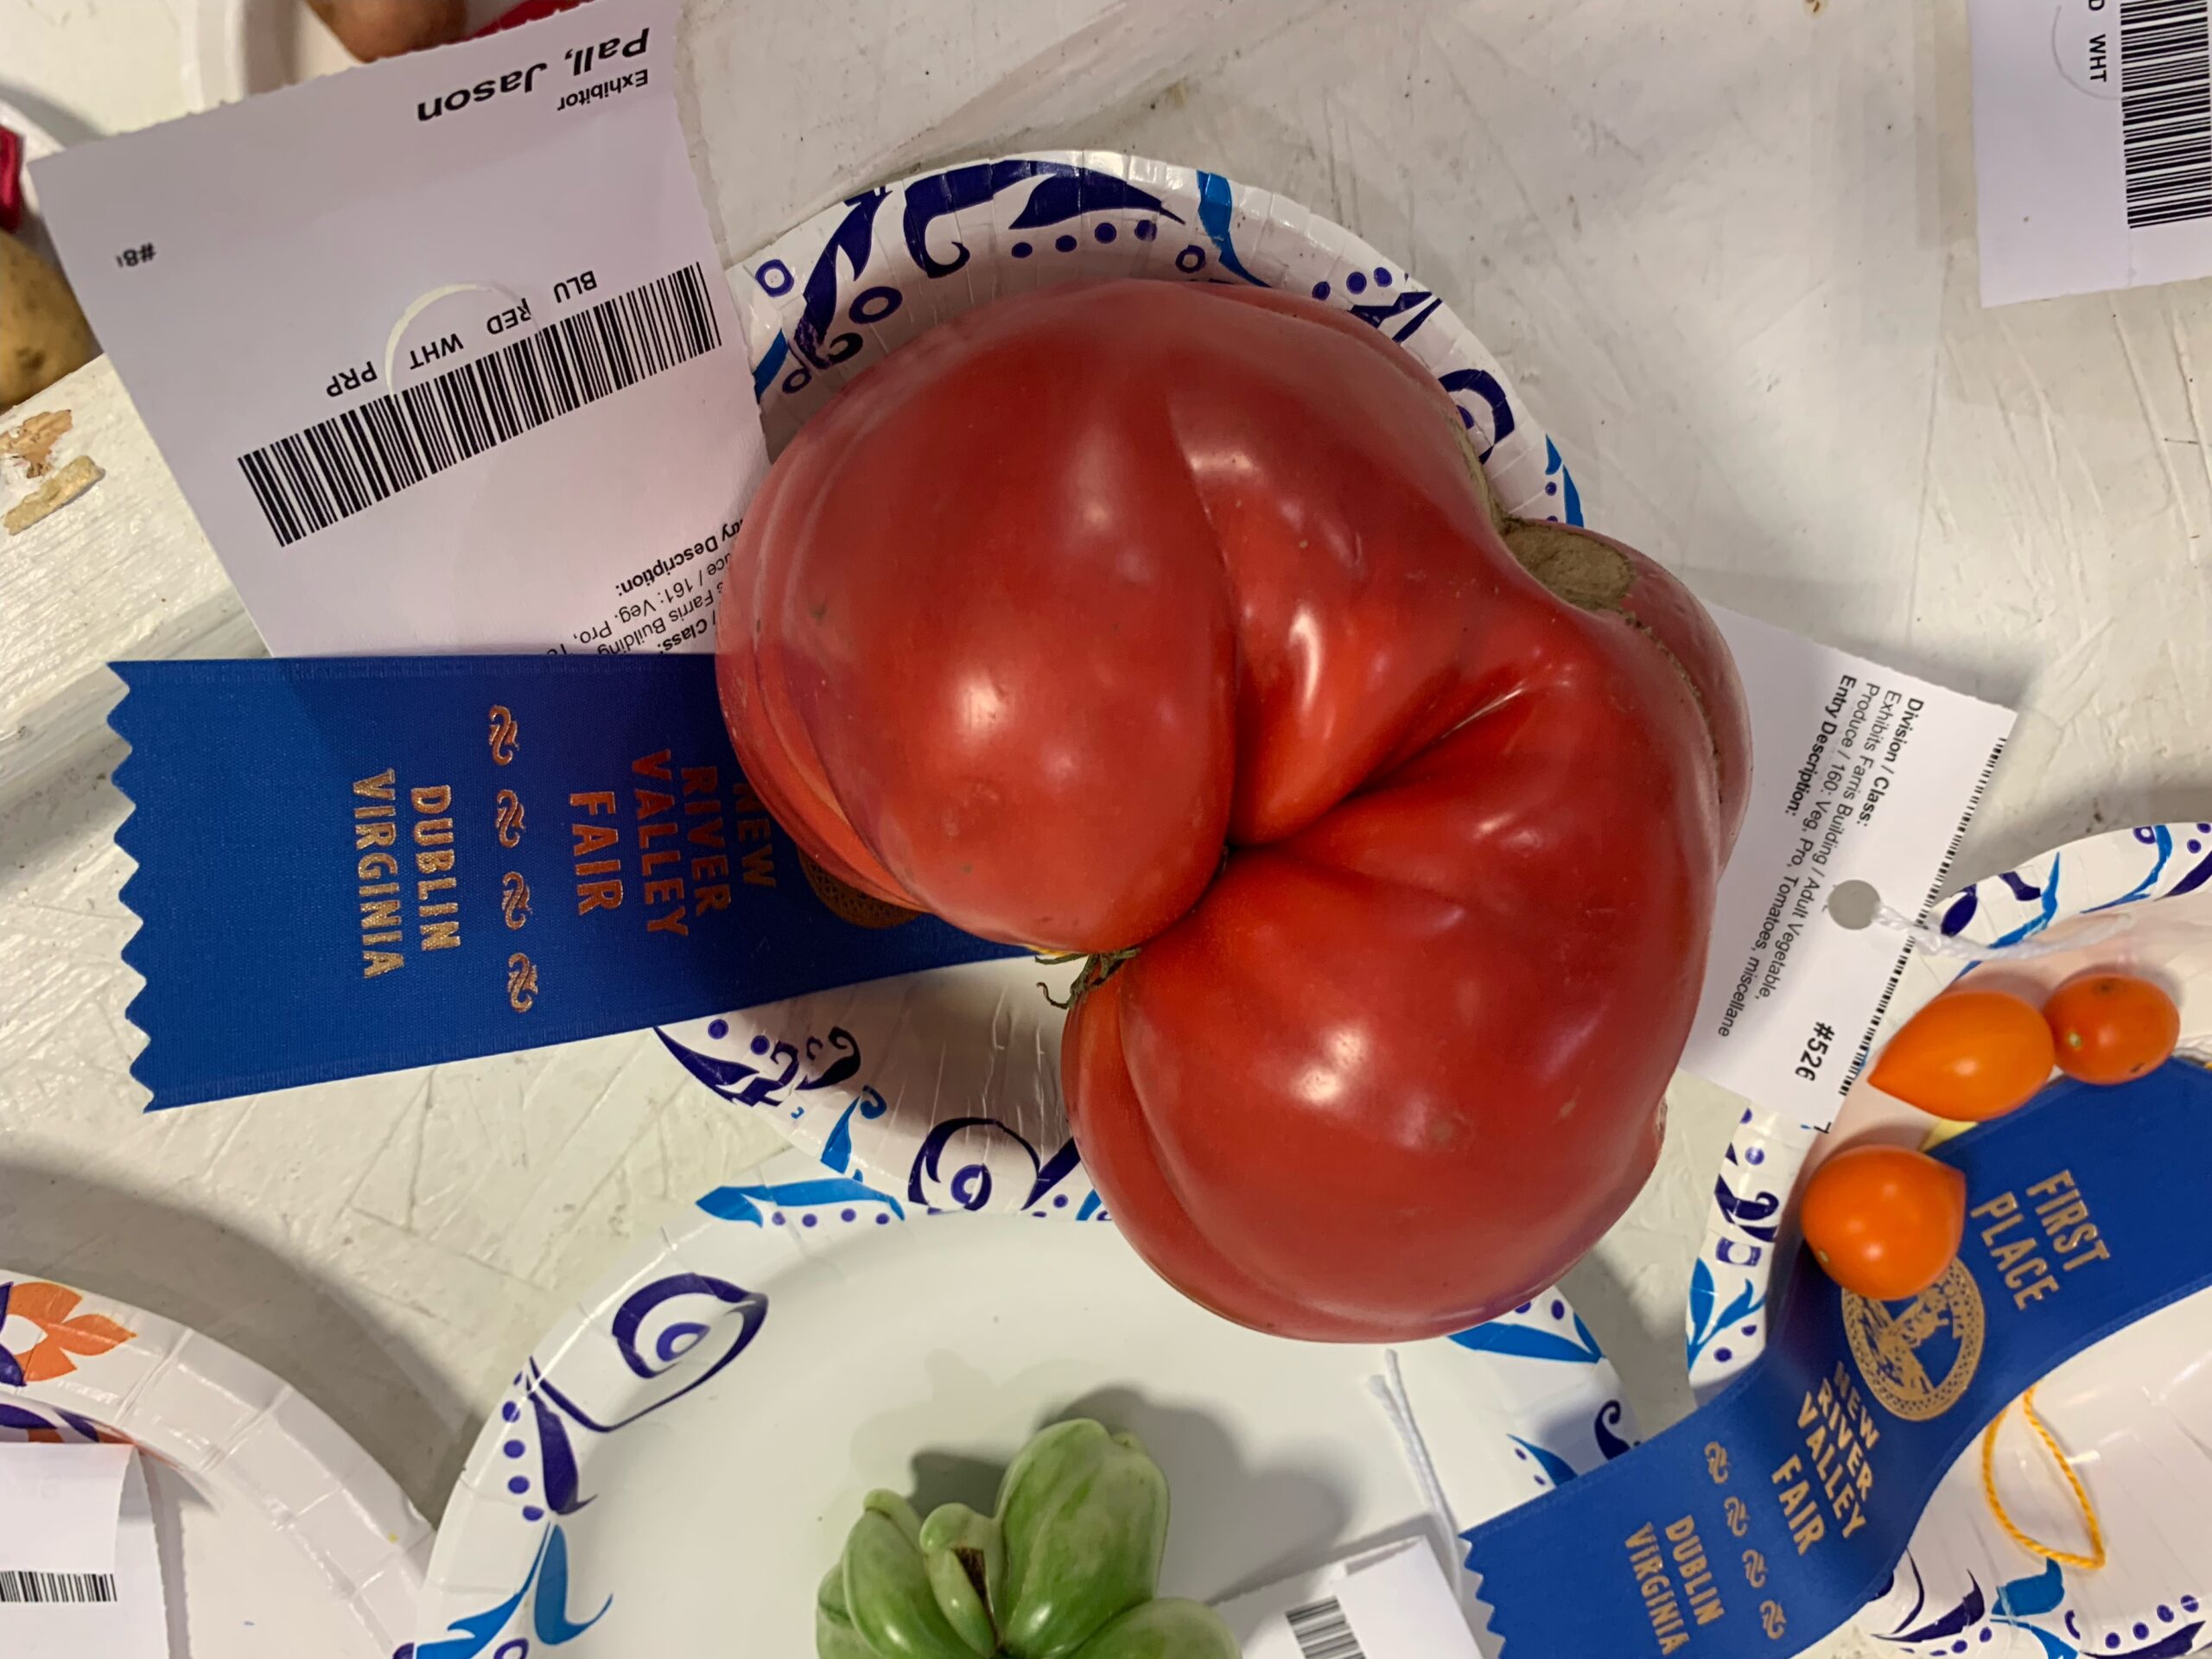
Some days the group harvests tomatoes and talk about plant families. Sometimes it’s transplanting seedlings, and the discussion is about nutrients and temps for the babies. One day was on marketing, and they delved into farm stand display. One day was on soil health, and they got out there with buckets and soil probes to explore what’s underground.
“In that growing your own food, even though it’s hard and it’s dirty, that it’s really satisfying. And you can walk away with this visceral sense of accomplishment, where you and your classmates got to put plants in the ground, and then three months later you get to harvest from those same plants, and then you got to try what they tasted like.”
We have a few more months of spring here, where the farm calendar and the public school calendar overlap. We look forward, during this crucial time of the growing season, to inviting them out more, to see through their eyes all that’s going on on a vegetable farm to set up for a successful year.
I think we’re learning the most, though. That’s how these things go.
Hopefully, we’ll get to see a new crop of students this fall and watch a fresh kind of cycle begin here on the farm.
And with that, here are some quotes from the students themselves this year. We ask them to journal briefly before they leave. Here are real responses from four different students for this prompt:
How has this program changed the way you think about agriculture?
🍅”Thinking that there is a bigger future in agriculture than I once thought.”
🥕”It has helped see it as a bigger perspective knowing all the smaller details that go into what farmers do to make agriculture what it is today.”
🥚”It shows how much work farmers do to put food on the table for us.“
😊“Yes, I was interested before, but now that I have been on the farm and have done these activities, I think I would be a lot more interested in doing agricultural work.”
Yes!

Watch part of our interview here.


 Lots of federal funding decreases are happening this year with our food donation programs that are outside our control.